The setup wizard builds a working integration in four steps: a gateway, a webhook, a redirect URL, and then a real payment that exercises all three. New accounts are offered it automatically. It is the fastest way from an empty account to something you can point your code at.
Before you start
- A confirmed email address — the wizard sits behind that check like everything else
- Optionally, a URL that can receive a webhook. You can add one later instead.
The welcome screen
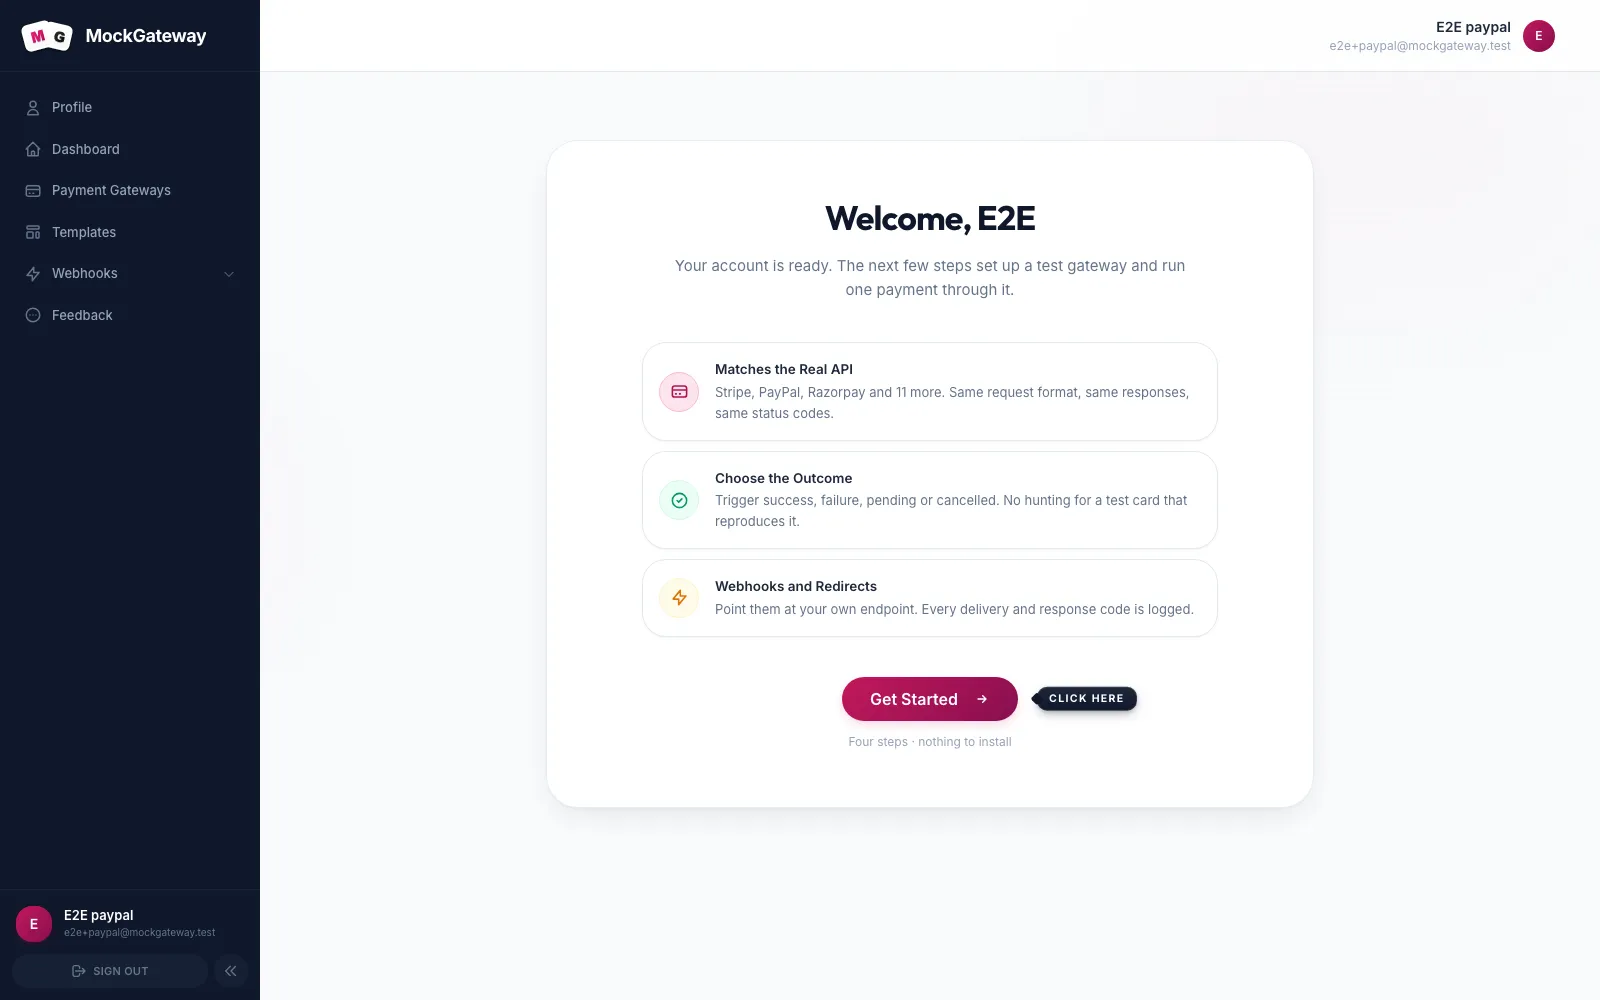
A fresh account lands here first. It is not part of the four steps — it explains what the wizard is about to do and hands you a Get Started button.
Walk the wizard
- Gateway. Pick a template and name it. This is the same thing the Templates screen does, folded into the flow so you leave the step with a slug and an API key.
- Webhook. Give it a URL to notify when a payment finishes. If you have nowhere to point it yet, one of the built-in test endpoints works —
/api/webhook-test/no-authaccepts anything and answers 200. - Redirect. Set where the customer's browser lands after paying. It has to be a full URL.
- Payment. The wizard hands you a ready-made
curlcommand carrying your own slug and key. Run it, or use the button beside it. Then pay on the hosted page, watch the webhook arrive, and call verify. - Done. The wizard closes and drops you at your new gateway.
Step 4 is the interesting one
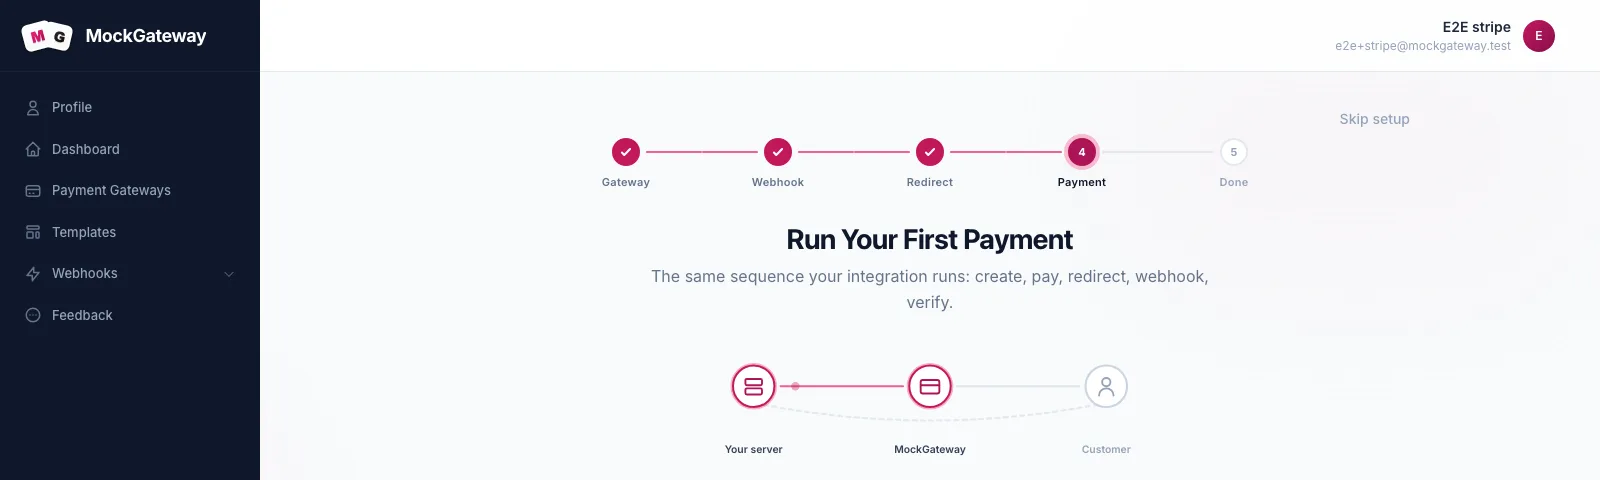
The payment step is not a summary screen. It runs the same sequence your integration will run — create, pay, redirect, webhook, verify — and shows each part as it happens.
The curl block is filled in with your gateway's real slug and key, so it works as pasted. Copy it into a terminal and you have made your first API call without writing any code. Treat that key the way you would any credential: it is yours, and anything holding it can create payments on your gateway.
The diagram above the steps shows who is talking to whom at each moment. That is worth a slow read if the redirect-and-webhook pattern is new to you, because it is the part most integrations get subtly wrong.
Skipping it
A Skip setup link sits in the top right of every step. Nothing is lost — whatever you have already created stays.
The wizard also closes on its own once you finish it or build a gateway outside it. It does not come back, and there is no way to reopen it. This is deliberate: it exists to get you moving, not to be a permanent part of the interface.
Check it worked
Open Payment Gateways. Your gateway is listed with at least one transaction against it. Open Webhooks → Logs and there is a delivery recorded from the payment you ran.
If both are true, your account holds a complete working integration and the endpoints are ready for your code.
If it didn't work
You never saw the wizard.
It only appears while it is still available. If you built a gateway first, it closed itself.
The webhook step will not accept your URL.
It must be a full URL, and it must be reachable from the internet. A localhost address is not.
The curl command fails with a 401.
The key was copied incompletely. Use the copy button rather than selecting the text by hand.
The payment step never shows a webhook.
The delivery is made to your URL from MockGateway's servers. If the endpoint sits behind a firewall or an IP allowlist, it will not arrive. Check the delivery log for the status returned.
Next
The wizard leaves you with one gateway from a template. Building a custom gateway is the next thing worth reading if the template does not match the provider you are integrating with.
Was this page helpful?